Browse Policies & Filtering
- Application categories (Zero Trust app management)
- Active Directory group policies
- Content categories
- Custom block pages
- Don't mix DNS providers
- Prevent DNS bypass
- Safe Search explained
- Safe Search supported search engines
- Security categories
- Working with policies
- Working with allow and block lists
- YouTube Restricted Mode explained
Working with allow and block lists
Create custom allow/block lists to override category decisions for specific domains, globally across your org or scoped to a single policy.
Sometimes you need to fully block or allow a specific domain regardless of how ScoutDNS categorizes it, a vendor whose domain is mis-categorized, an internal tool that needs to bypass category filtering, or a domain you want to deny across the entire org. Custom allow/block lists (called “White/Black Lists” in the UI) handle this.
A list can be global (applies to every policy in your account) or standard (attached to one or more specific policies). Lists can hold allow entries, block entries, or both.
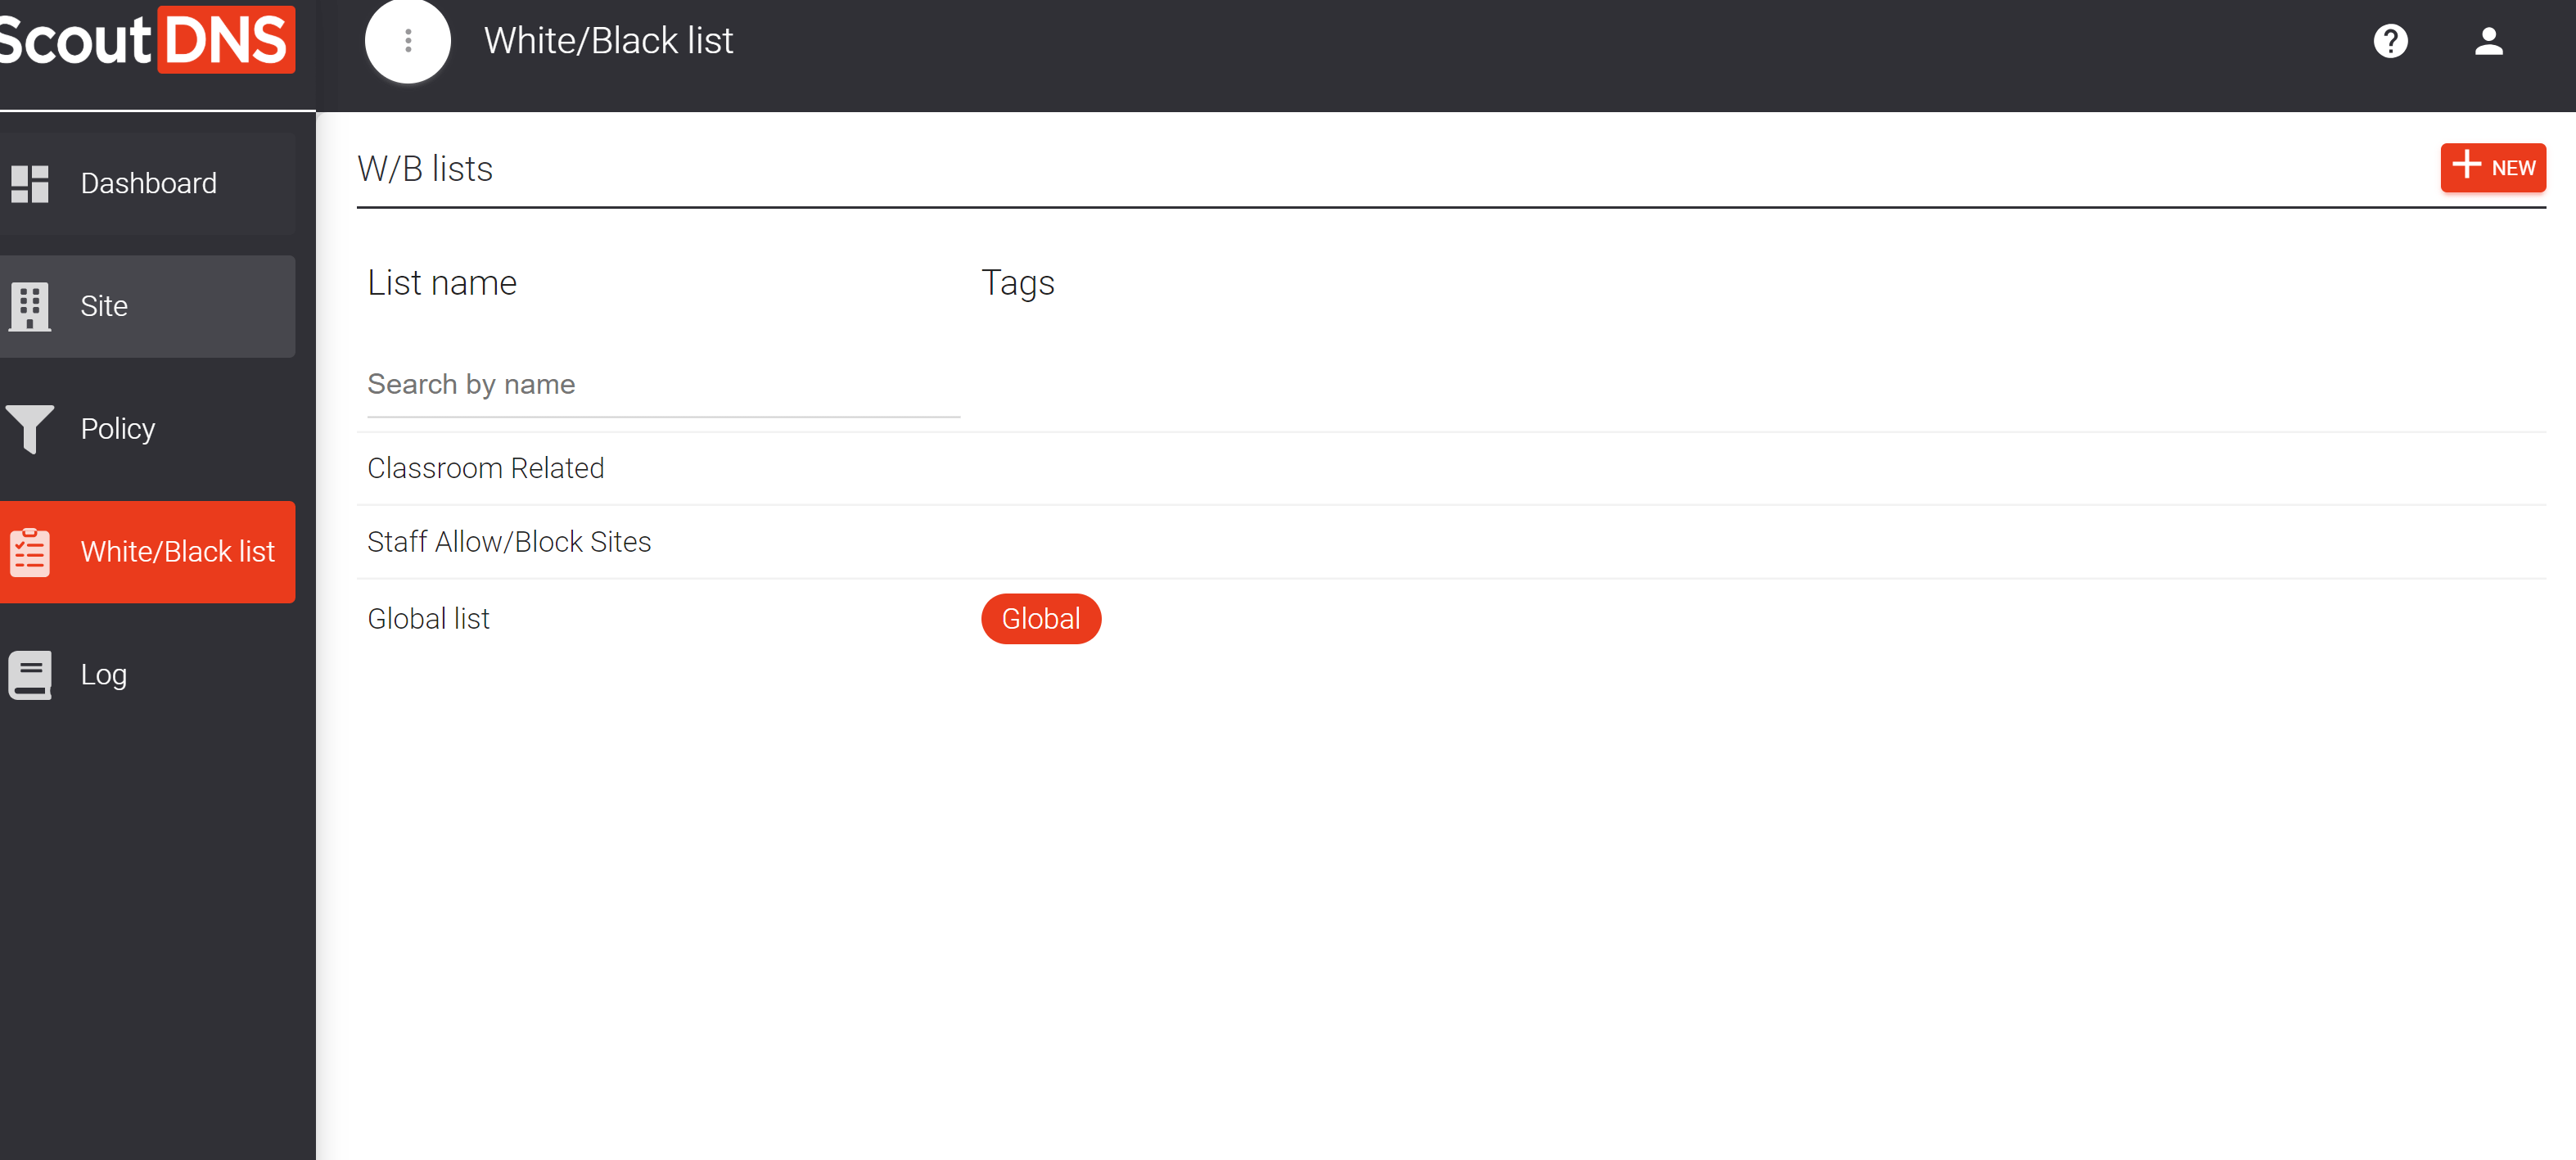
Create a list
- Open the Custom Lists page.
- Click New W/B List in the top right.
- Name the list and add a description so other admins know its purpose.
- (Optional) Toggle Global if the list should apply across every policy.
- Save.
You can mark multiple lists as Global if you want to organize them by purpose (e.g. “Global allow, internal tools” + “Global block, known phishing”).
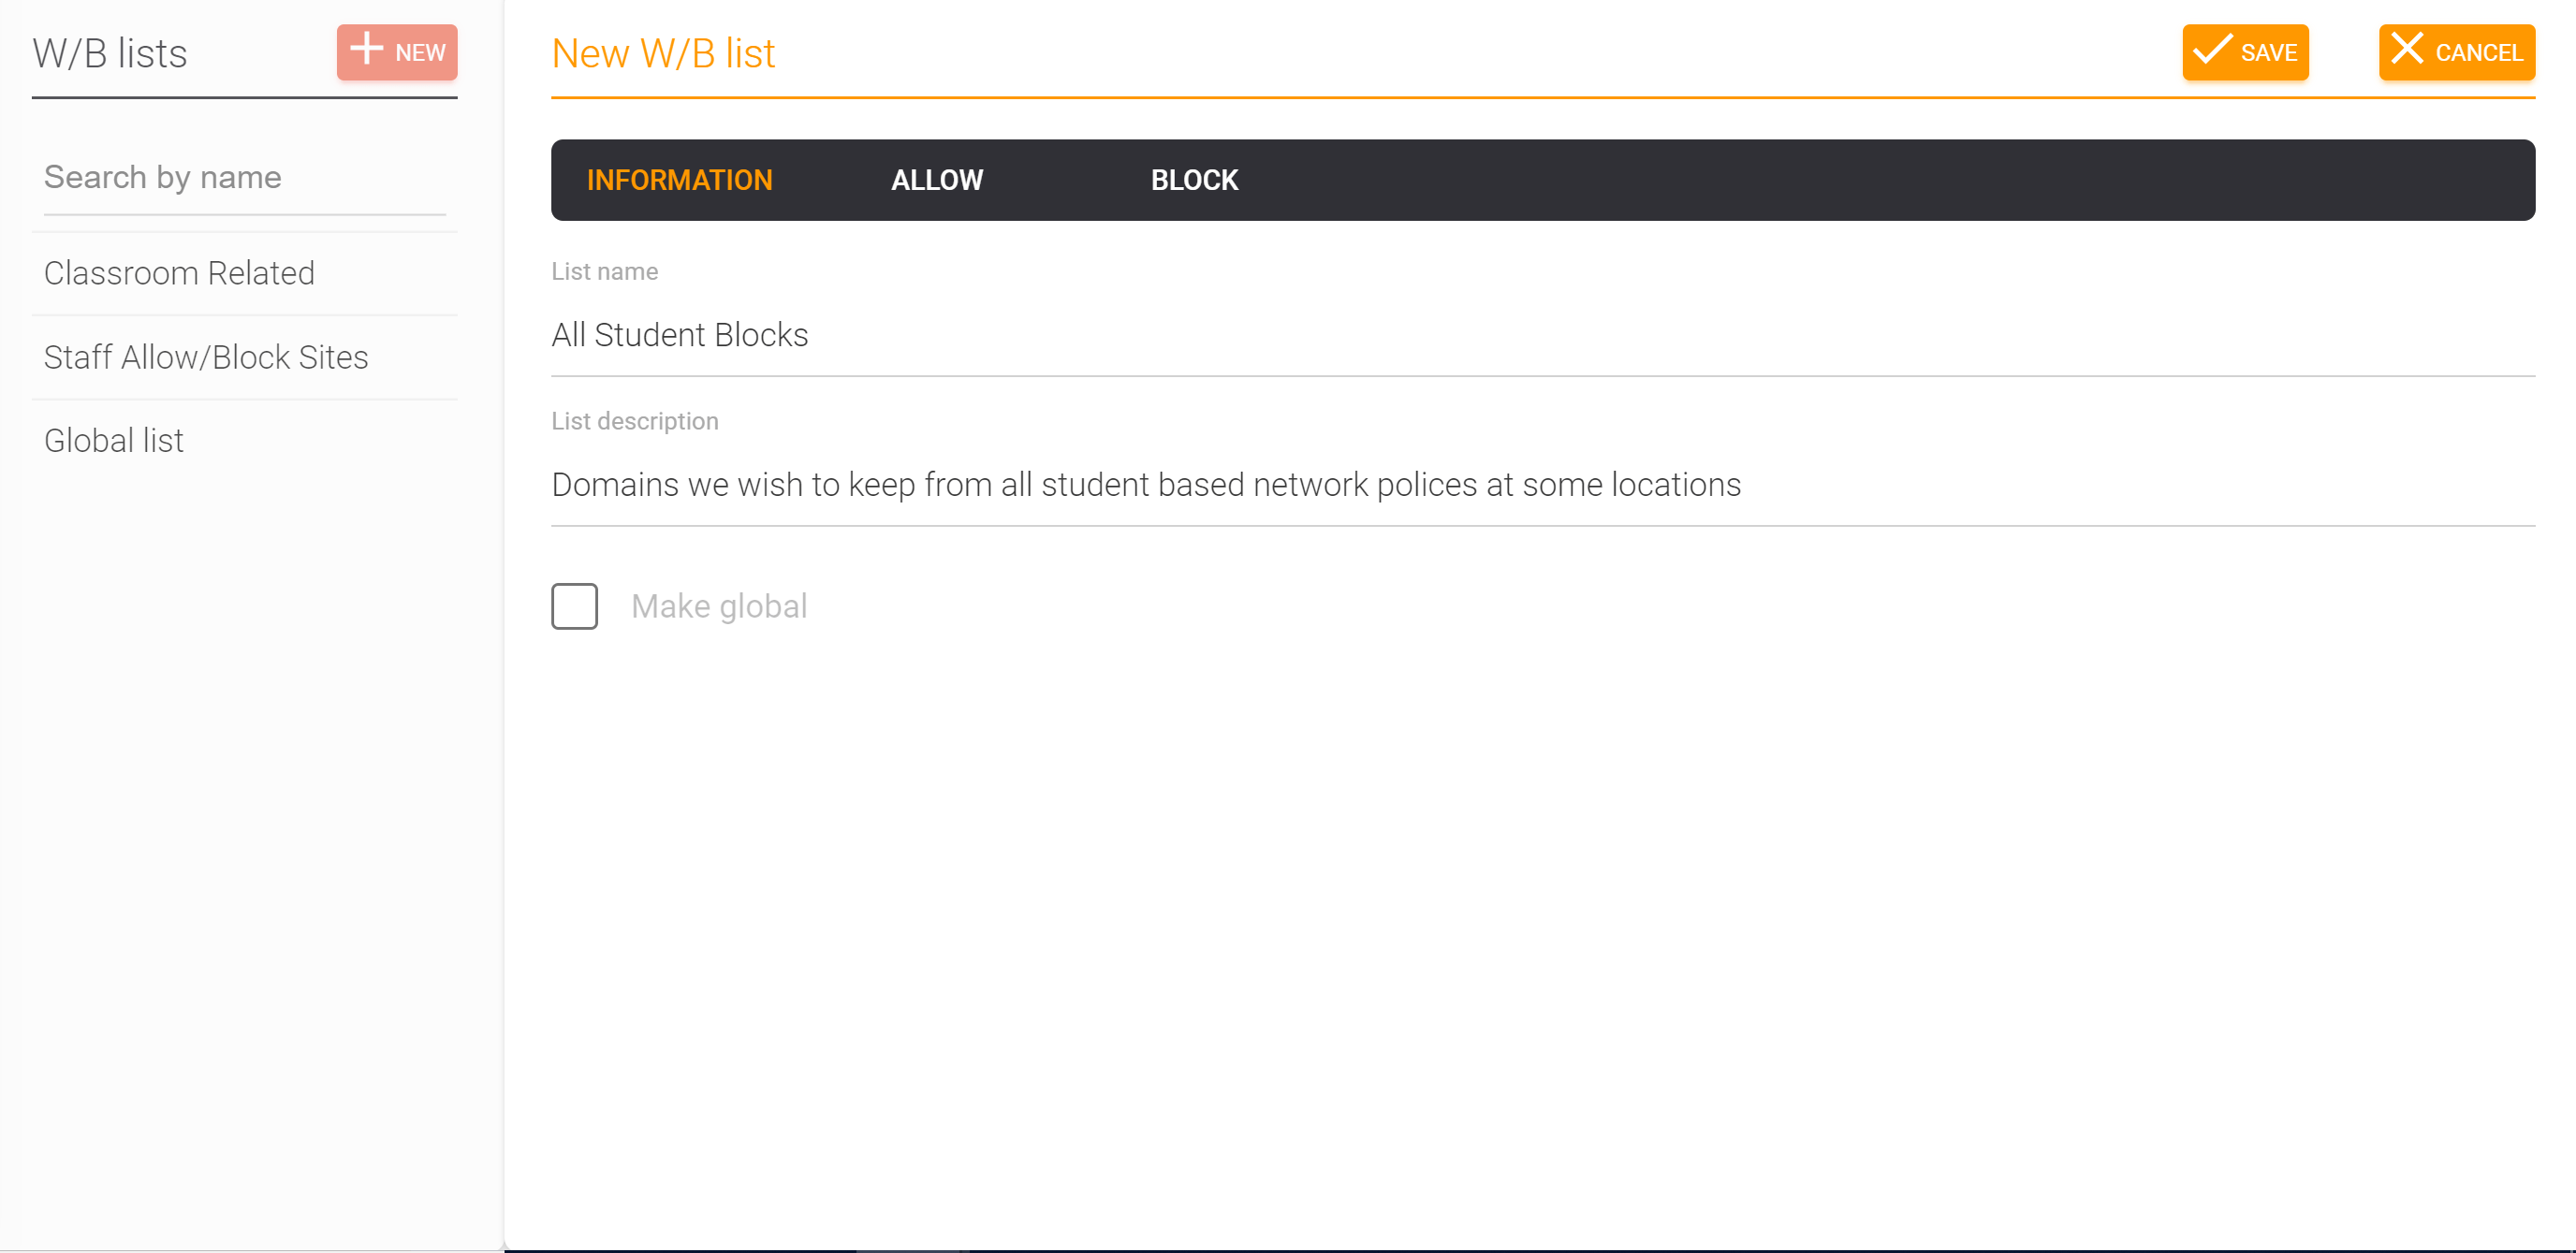
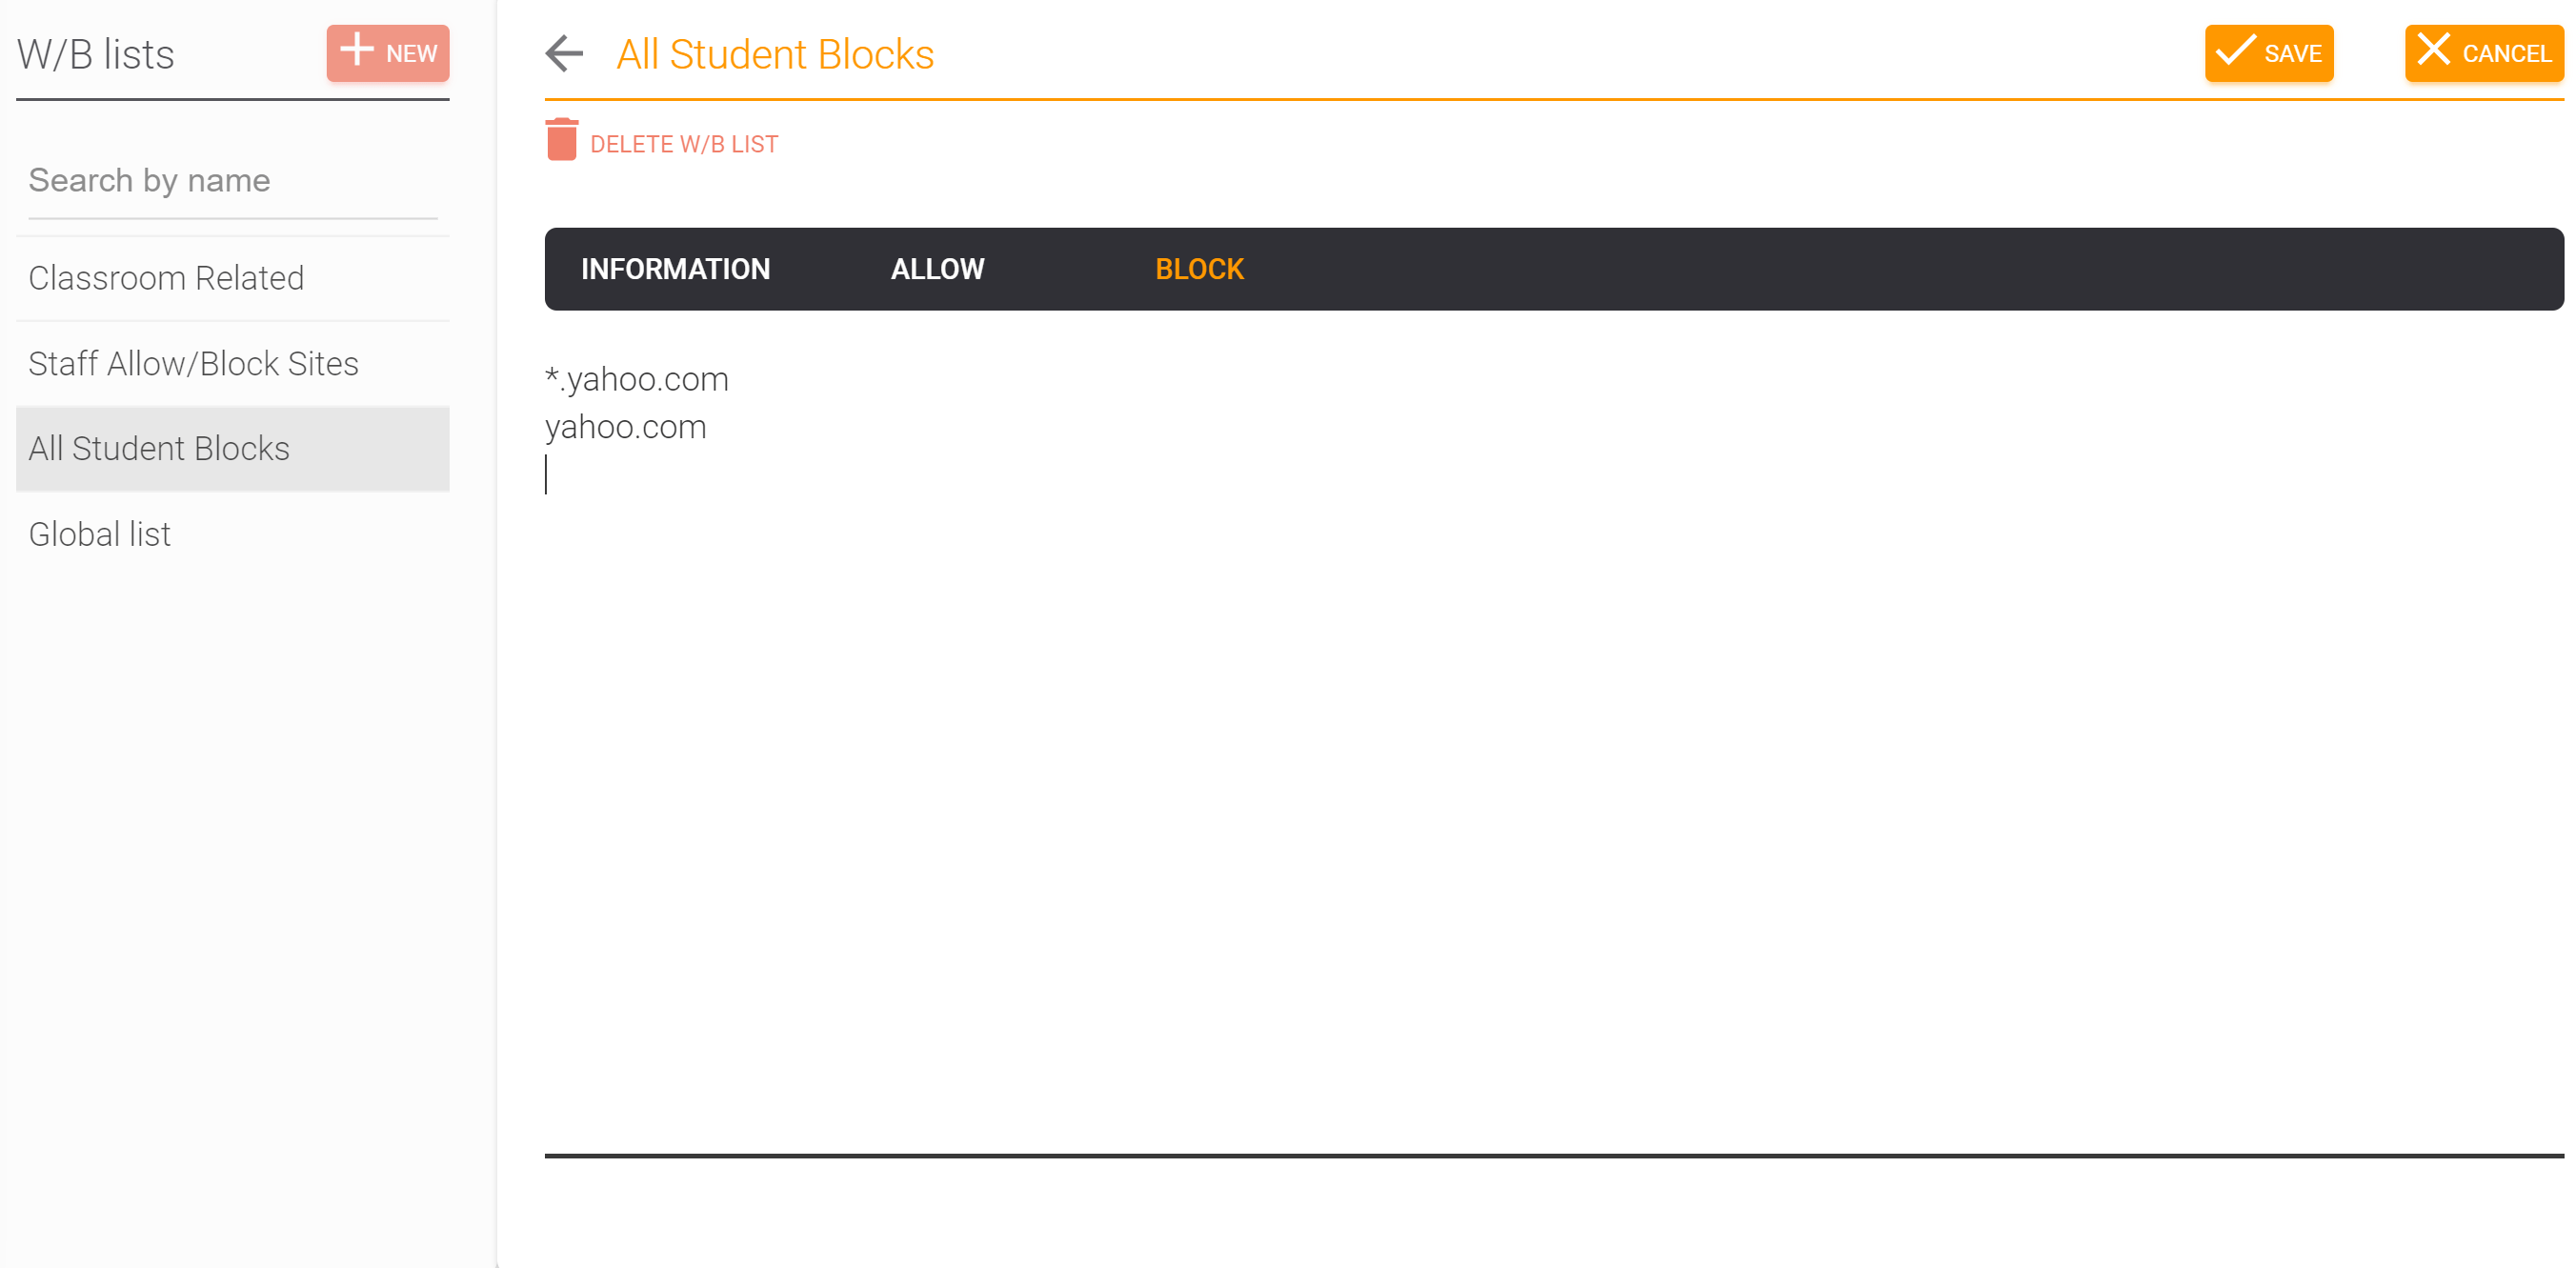
Add entries
Each list has an Allow tab and a Block tab. Add domains to whichever side applies.
Domain syntax
| Entry | Matches |
|---|---|
aol.com | The apex domain only, does not match subdomains |
*.aol.com | Subdomains only, does not match the apex |
yahoo.com AND *.yahoo.com | Apex plus every subdomain (the typical “fully block this site” pattern) |
[!IMPORTANT] Entries must be domains, not URLs, not
http://...prefixes, not paths. ScoutDNS filters at the DNS layer, which only sees the hostname.
A few worked examples:
- Blocking
*.yahoo.comblocksnews.yahoo.combut allowsyahoo.com. - Blocking
yahoo.comblocksyahoo.combut allowsmail.yahoo.com. - To fully block the whole site, add both
yahoo.comand*.yahoo.com.
How lists are evaluated
When a DNS query arrives, ScoutDNS evaluates list entries in this order. The first match wins.
- Global allow list, highest precedence, beats everything else
- Global block list
- Standard allow list (attached to the policy in use)
- Standard block list (attached to the policy in use)
In short: allow always beats block at the same scope, and global always beats standard. A global allow entry will permit a domain even if a standard block entry would otherwise block it.
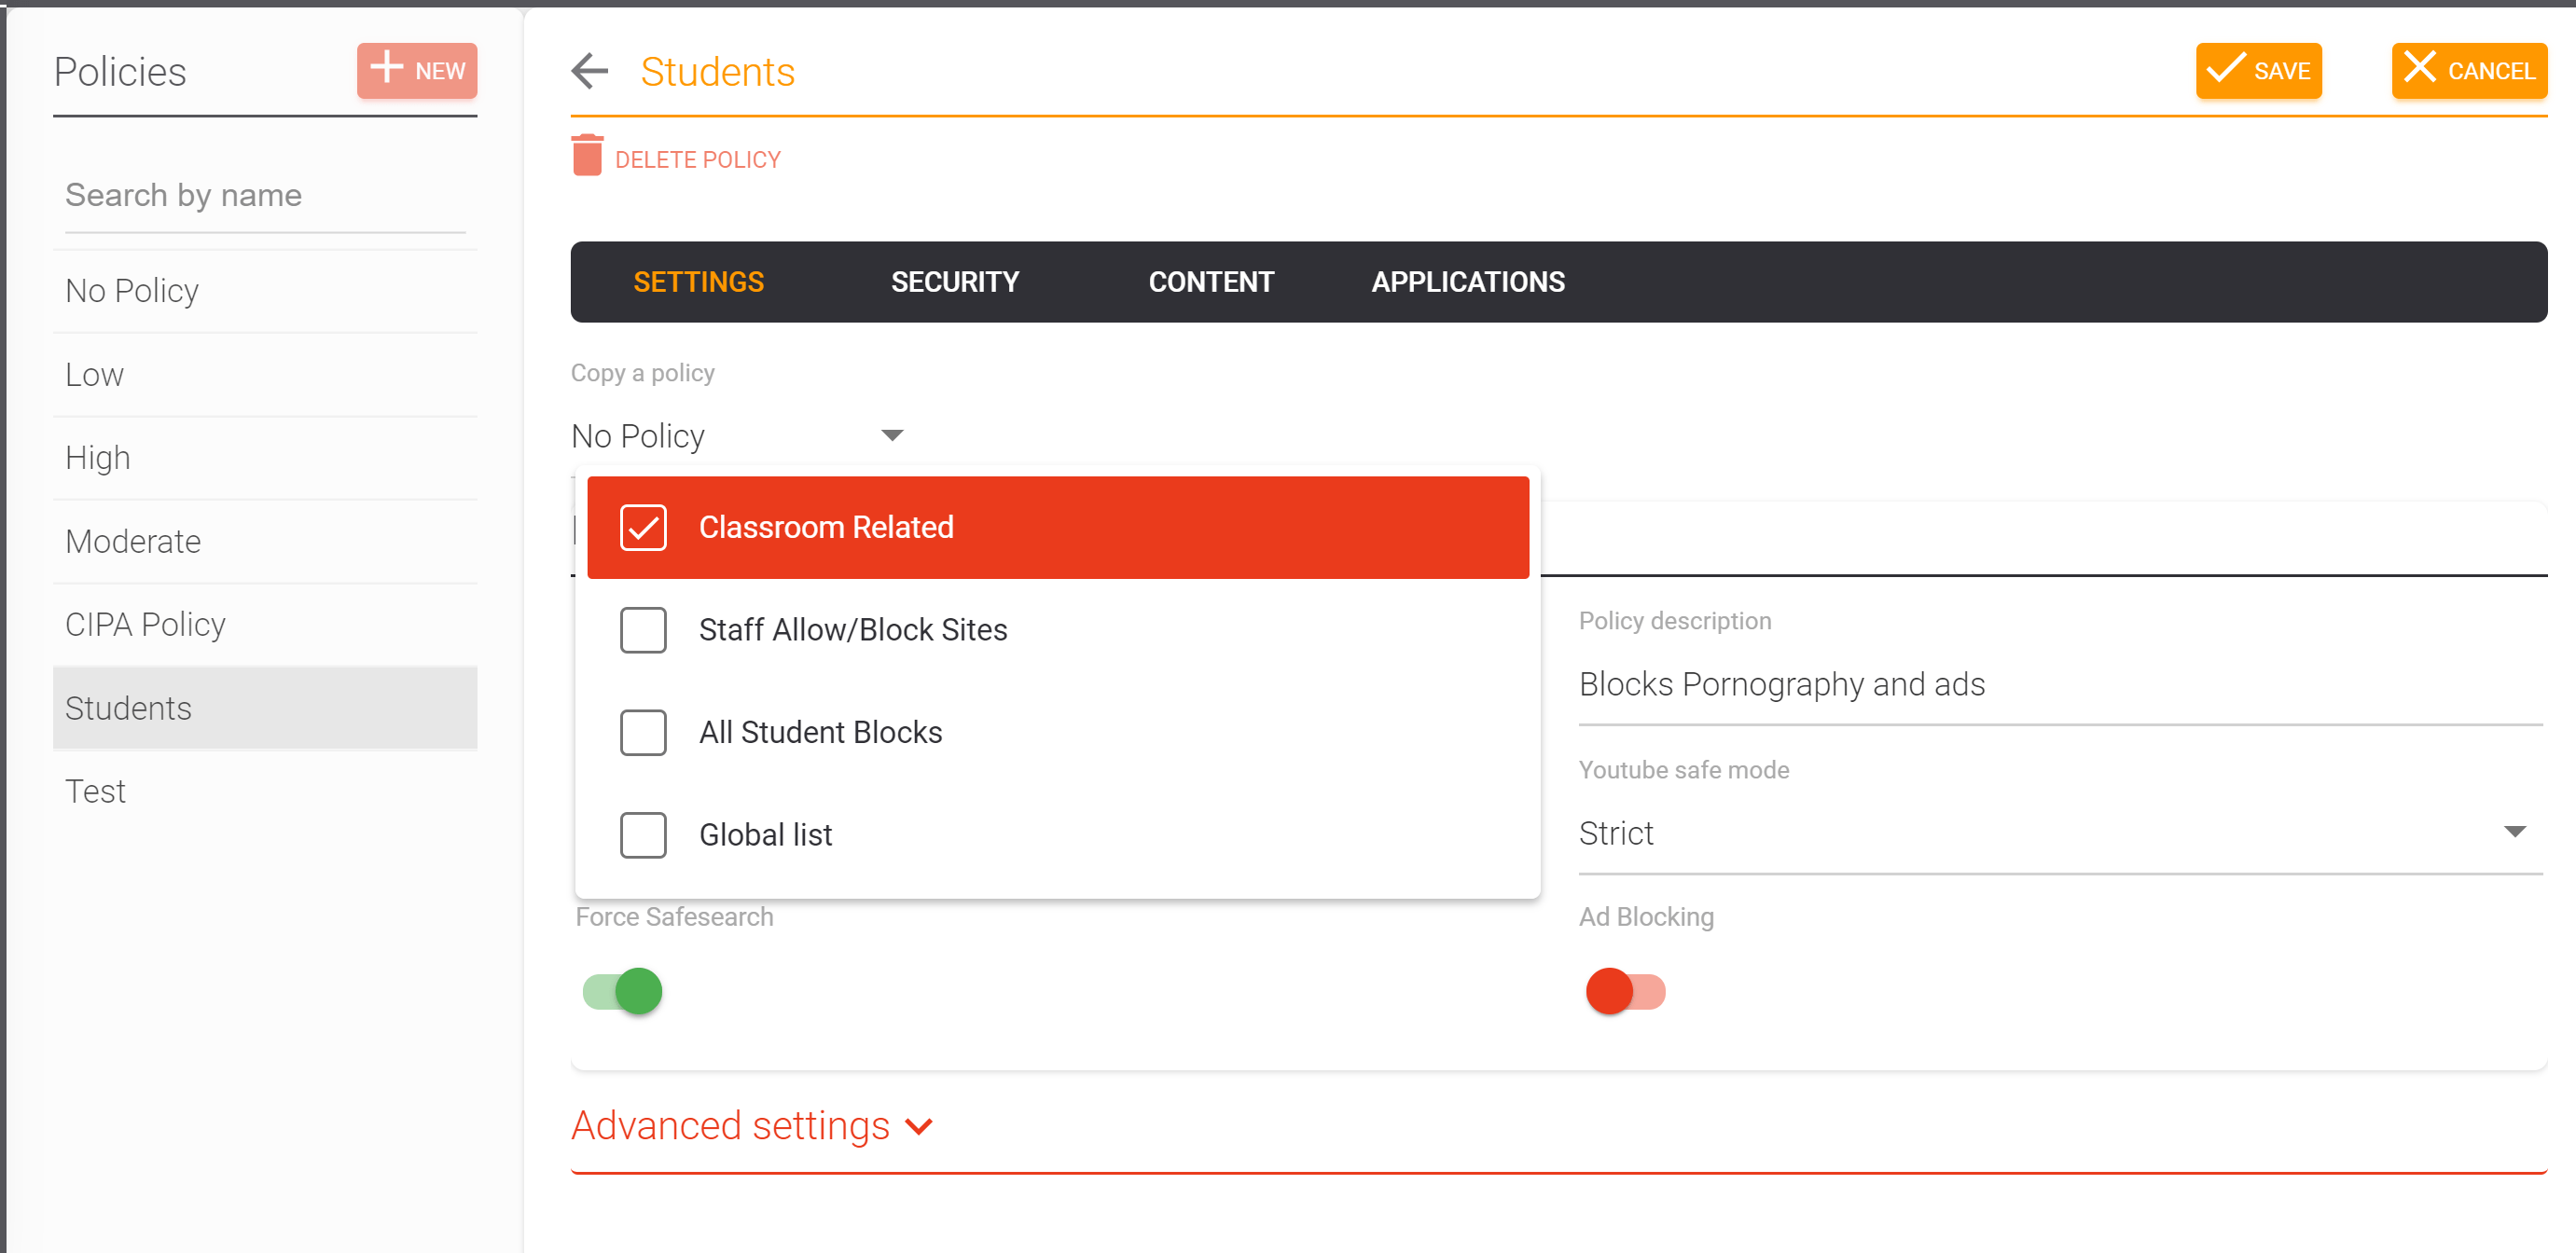
Attach a list to a policy
Global lists are applied automatically, no policy assignment needed. Standard lists only take effect when attached to a specific policy.
- Open the Policy tab → select the custom policy.
- Click Edit Policy in the top right.
- In the White/Black List field, pick one or more standard lists to apply.
- Save.
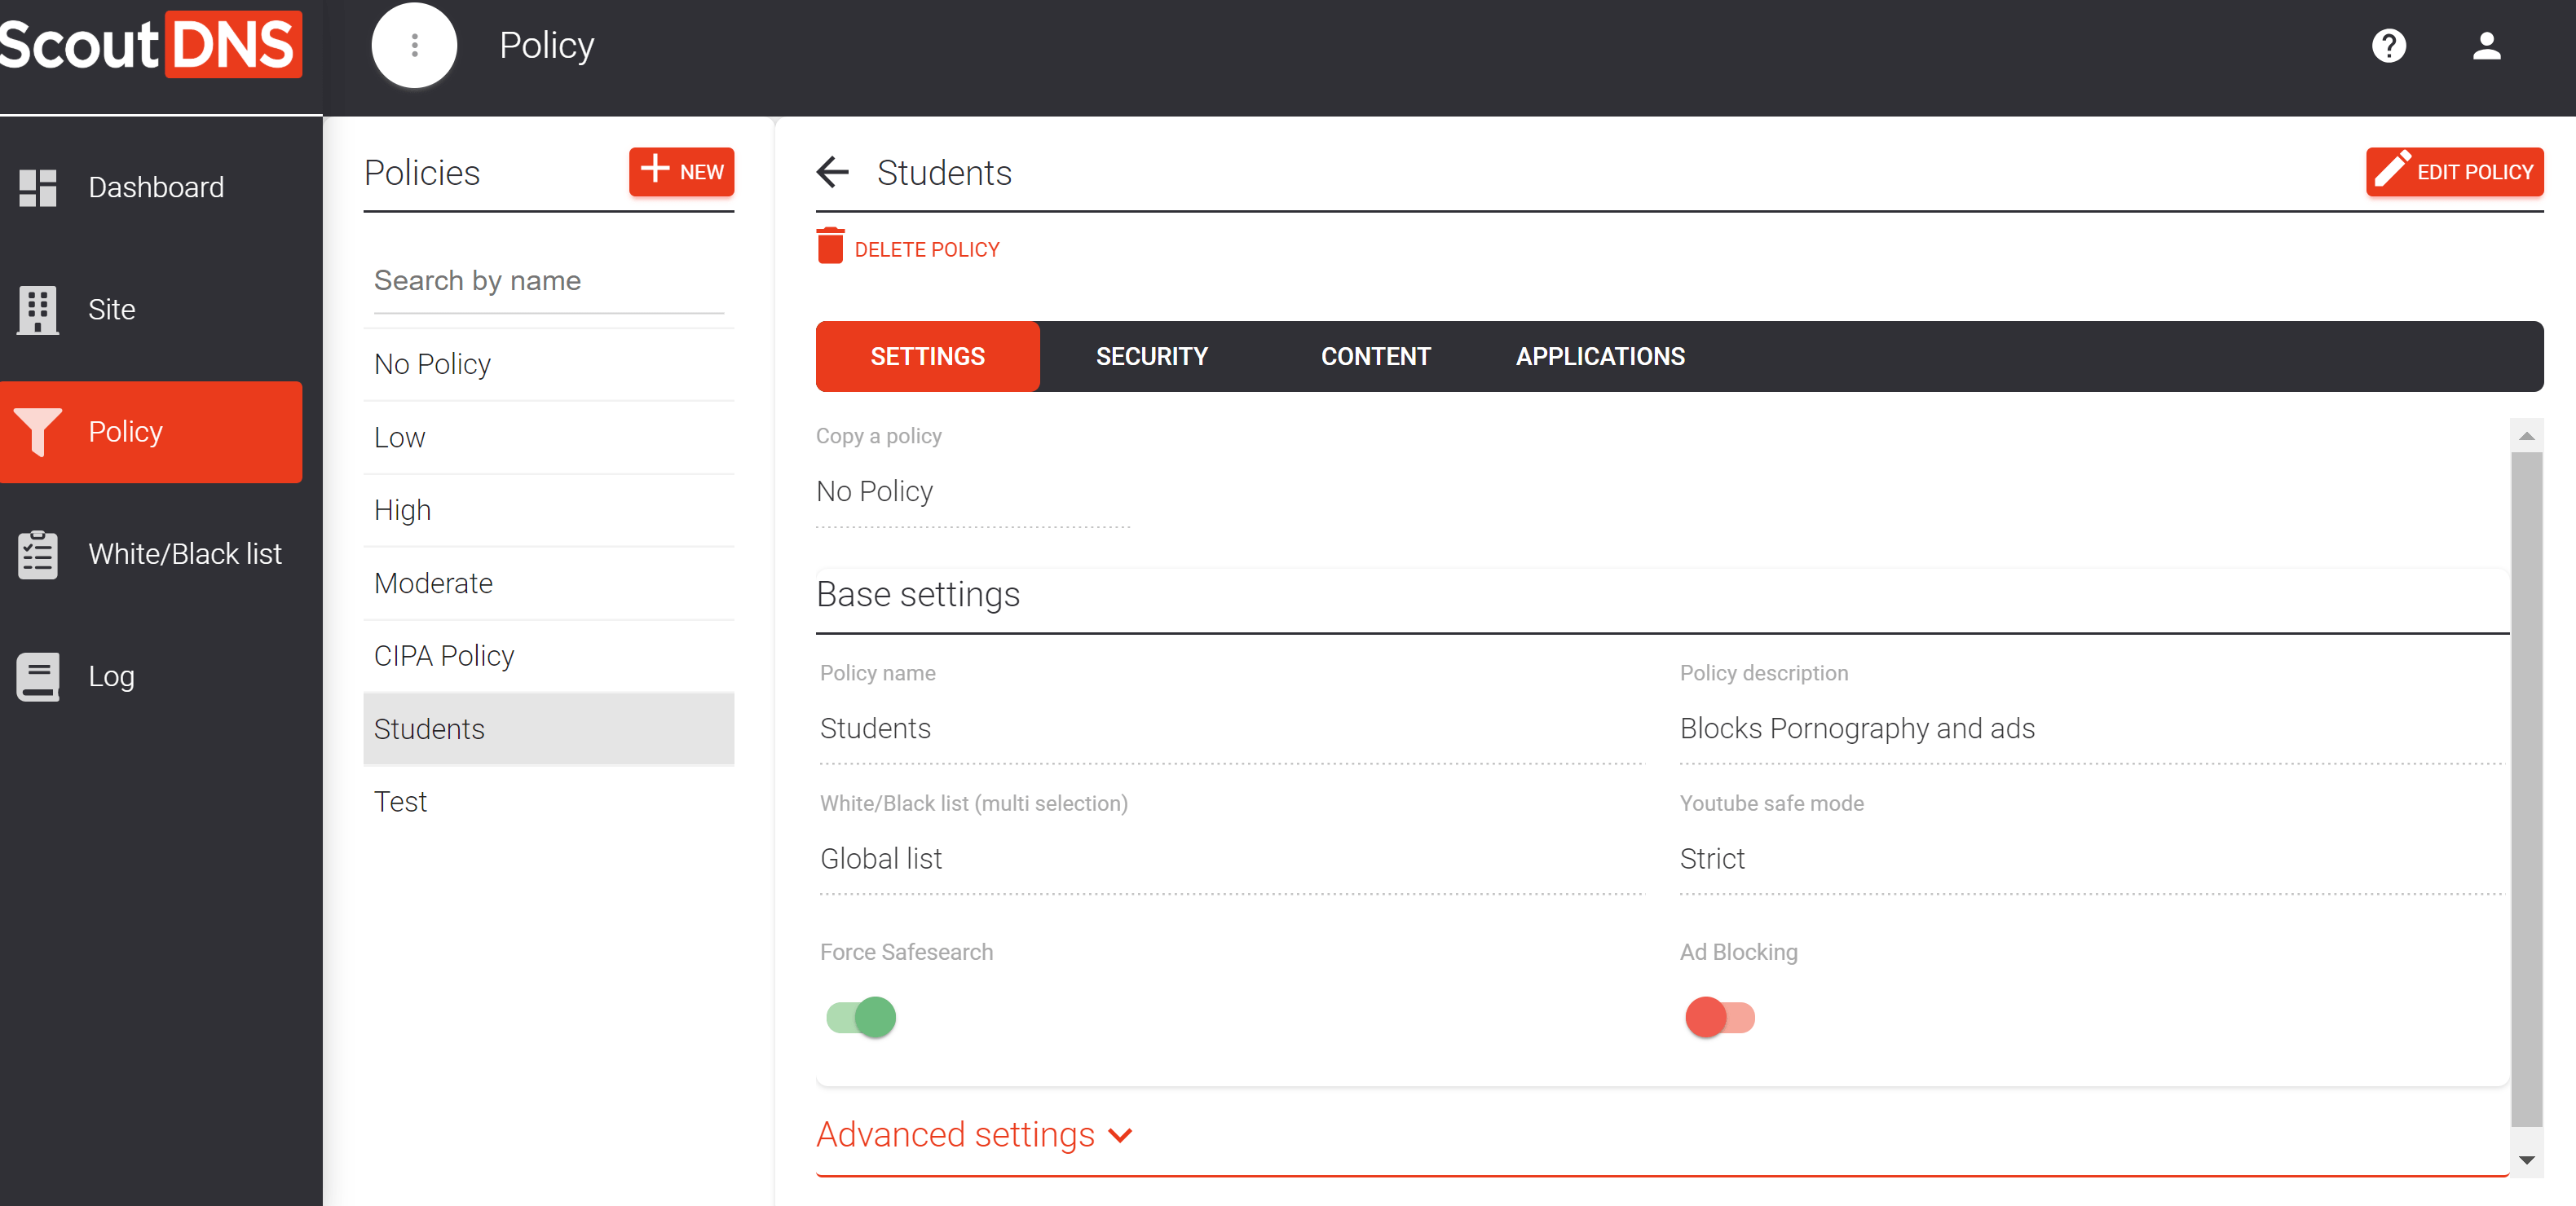
[!NOTE] Custom lists cannot be assigned to default (read-only) policies. Copy a default policy first if you need list overrides, see Working with policies.