Browse Policies & Filtering
- Application categories (Zero Trust app management)
- Active Directory group policies
- Content categories
- Custom block pages
- Don't mix DNS providers
- Prevent DNS bypass
- Safe Search explained
- Safe Search supported search engines
- Security categories
- Working with policies
- Working with allow and block lists
- YouTube Restricted Mode explained
Active Directory group policies
Apply ScoutDNS policy by Active Directory group membership so the policy follows the user across devices. No domain-controller access required; AD info is collected by the roaming agent.
ScoutDNS can enforce policy by Active Directory group membership so the policy follows the user, not the device. Useful when:
- The same shared device serves different users with different access needs.
- Roaming users move between devices and you want a single source of truth (the AD group) driving filtering.
- You want different policies for Sales, Engineering, Service Desk, etc. without touching each device.
[!NOTE] For Microsoft Entra ID (formerly Azure AD) group-based policy, see Configure Entra ID based policies instead. This article covers on-prem Active Directory.
How AD sync works (no domain-controller access)
ScoutDNS does not connect directly to your domain controllers. There’s no sync VM, no service account, no LDAP bind.
Instead, the roaming agent collects the domain, user, and group information directly from each client device when a user logs in. That data is uploaded to ScoutDNS and used to build a Persona, the object that maps AD groups to policies.
This means three things matter:
- Devices must run the ScoutDNS roaming agent. If you haven’t deployed agents yet, start there.
- A user has to sign in at least once on an agent-equipped device for their groups to be discovered.
- Group visibility is bounded by what your users actually log into. Groups that no agent-equipped user belongs to won’t appear.
Step 1: Enable user policies on device profiles
AD group policy is layered on top of device profiles. The profile sets a default policy; AD groups override it for matching users.
- Open the relevant Device Profile in the Admin Console.
- Toggle Enable User Policies on.
- Save.

[!IMPORTANT] The profile’s default policy is the fallback for any user who is not in any AD group with an assigned policy. Pick a sensible default, that’s what unmapped users will get.
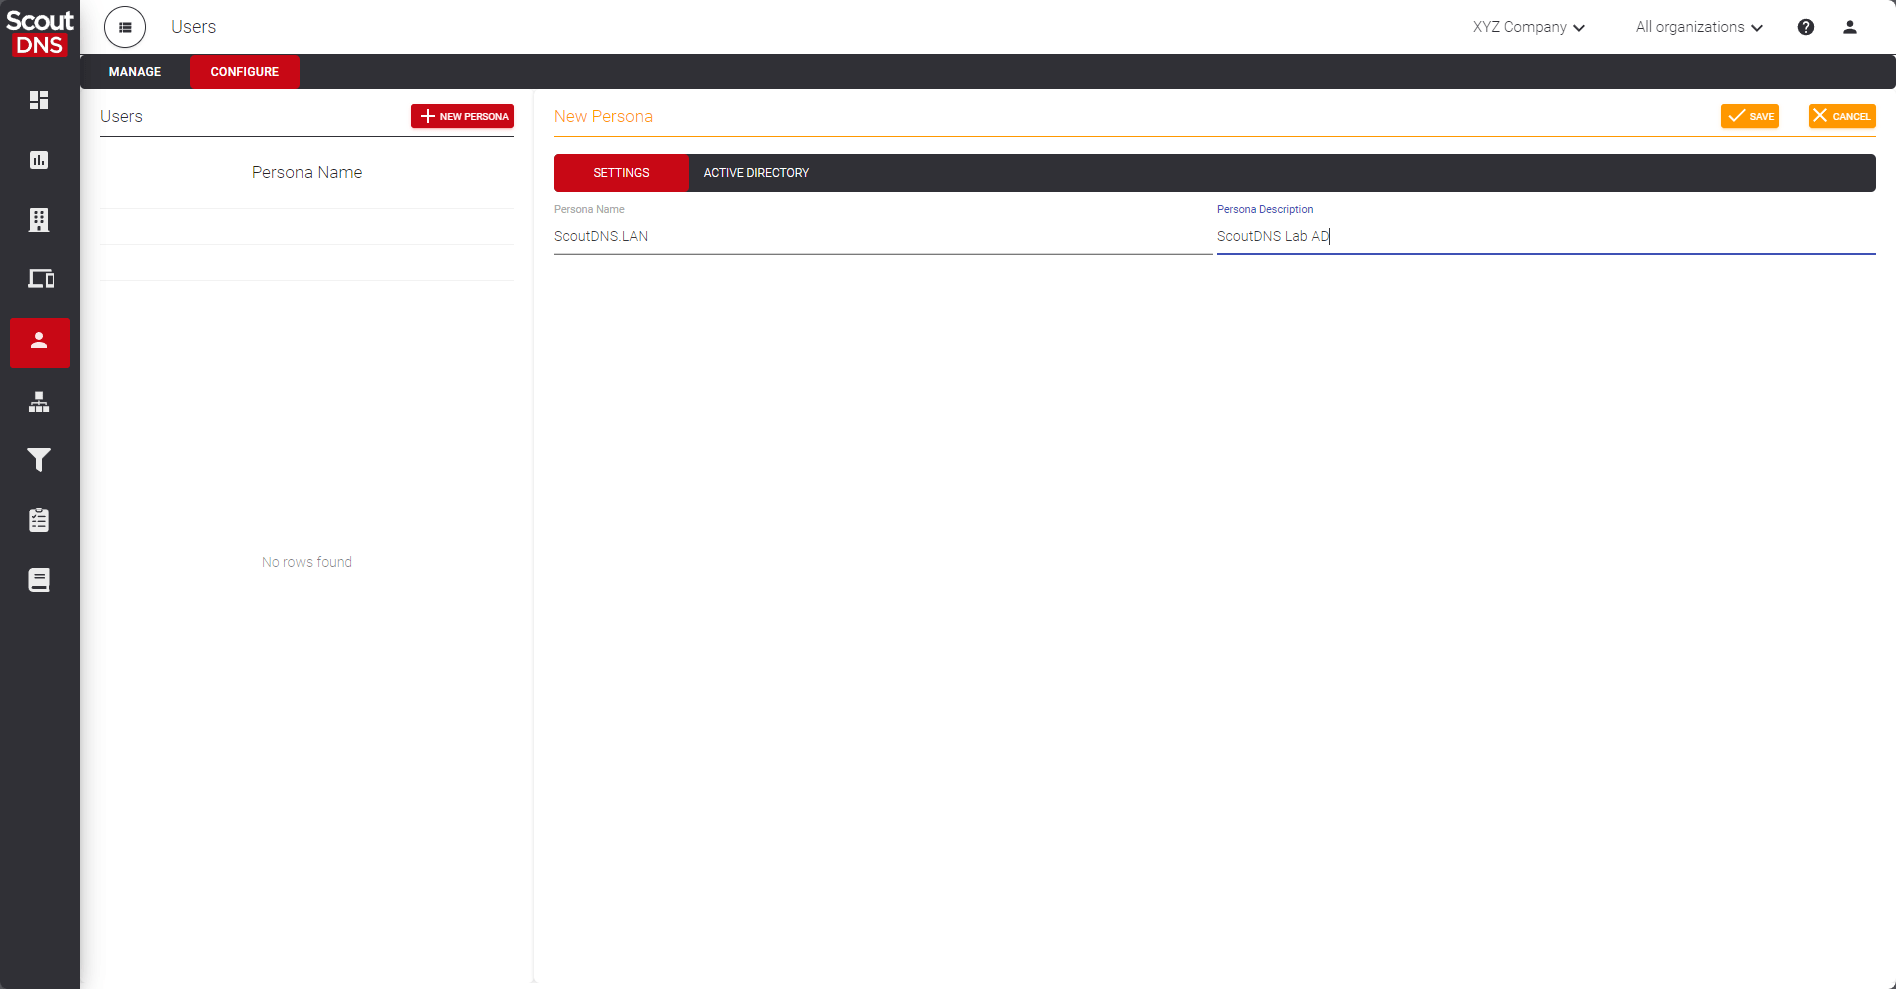
Step 2: Create a Persona
A Persona defines how AD groups map to policies for a given domain.
- Users → Configure → New Persona.
- On the Settings subtab, name the Persona.
Bind a domain
Open the Active Directory subtab and bind a domain to the Persona.
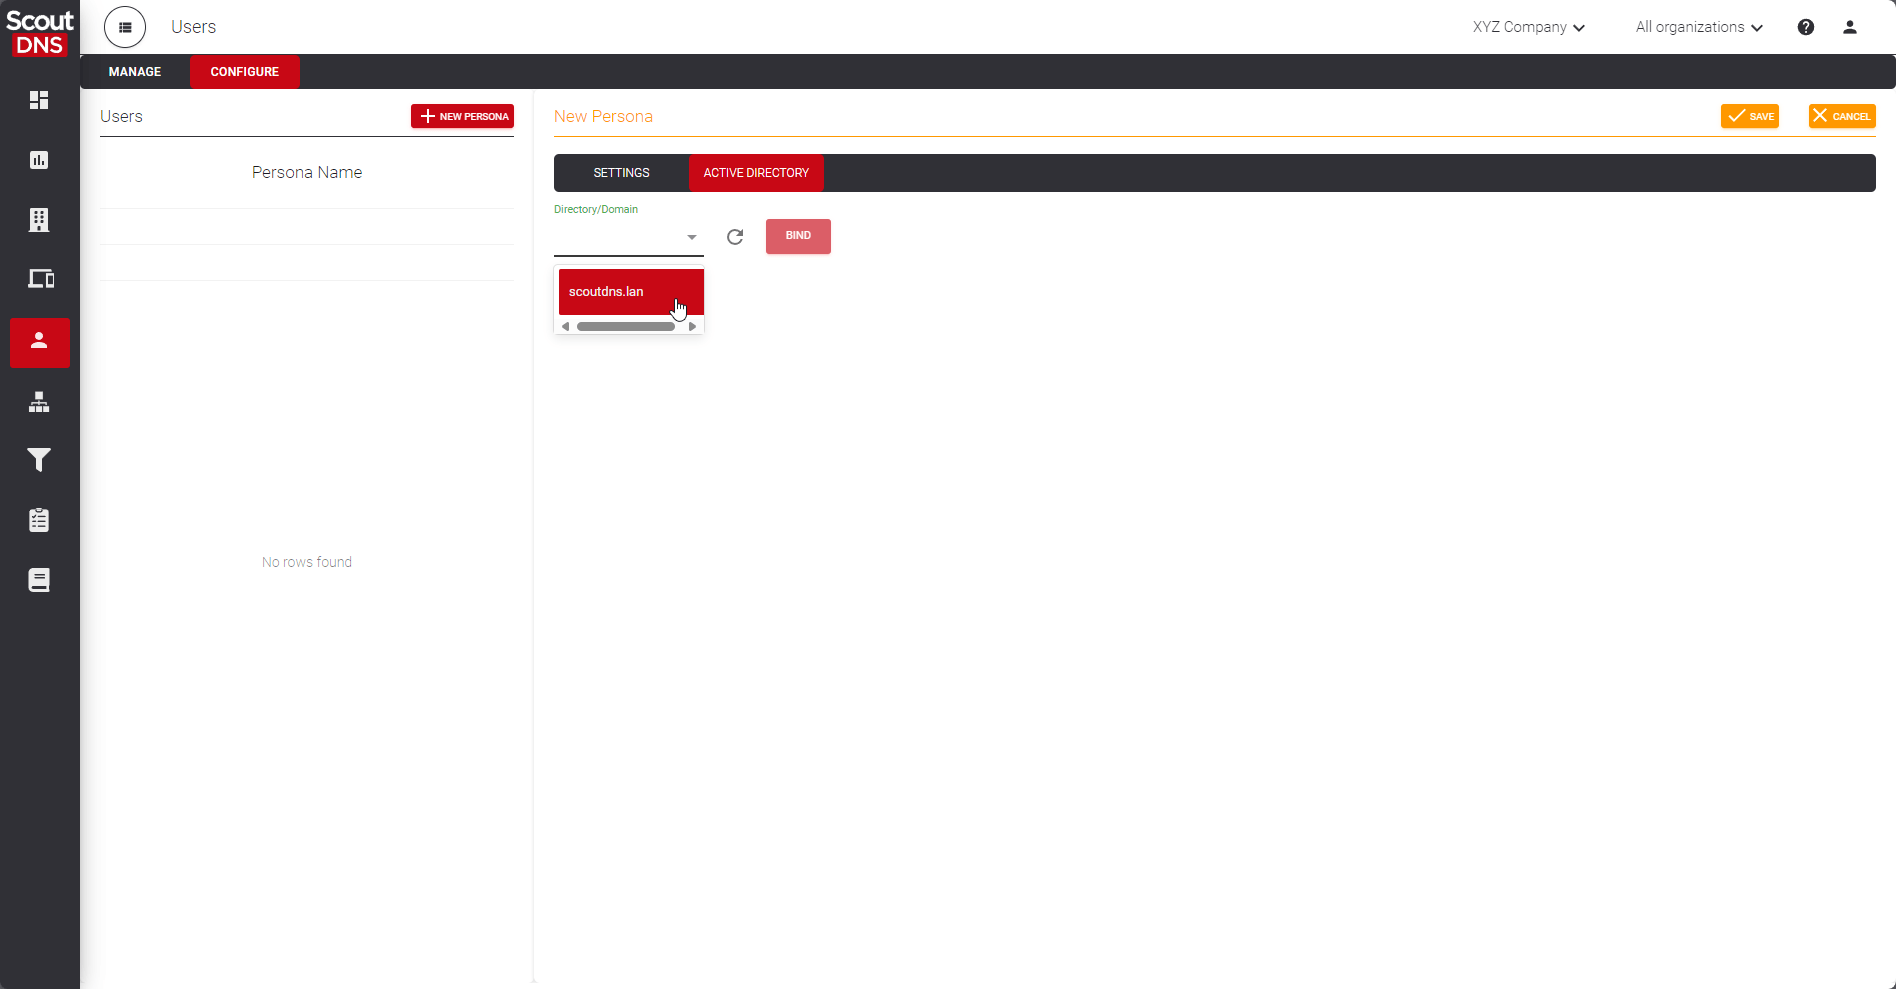
[!NOTE] A single Persona can bind to one domain only. A domain can only be bound to one Persona. If you have multiple AD domains, create one Persona per domain.
Map groups to policies and set priority
Once the domain is bound, every AD group discovered through your roaming clients becomes available:
- Move the groups you want to use from the left column to the right.
- For each group, pick the policy that applies.
- Set a priority (1 = highest). Priority resolves multi-group conflicts when a user is in more than one mapped group.
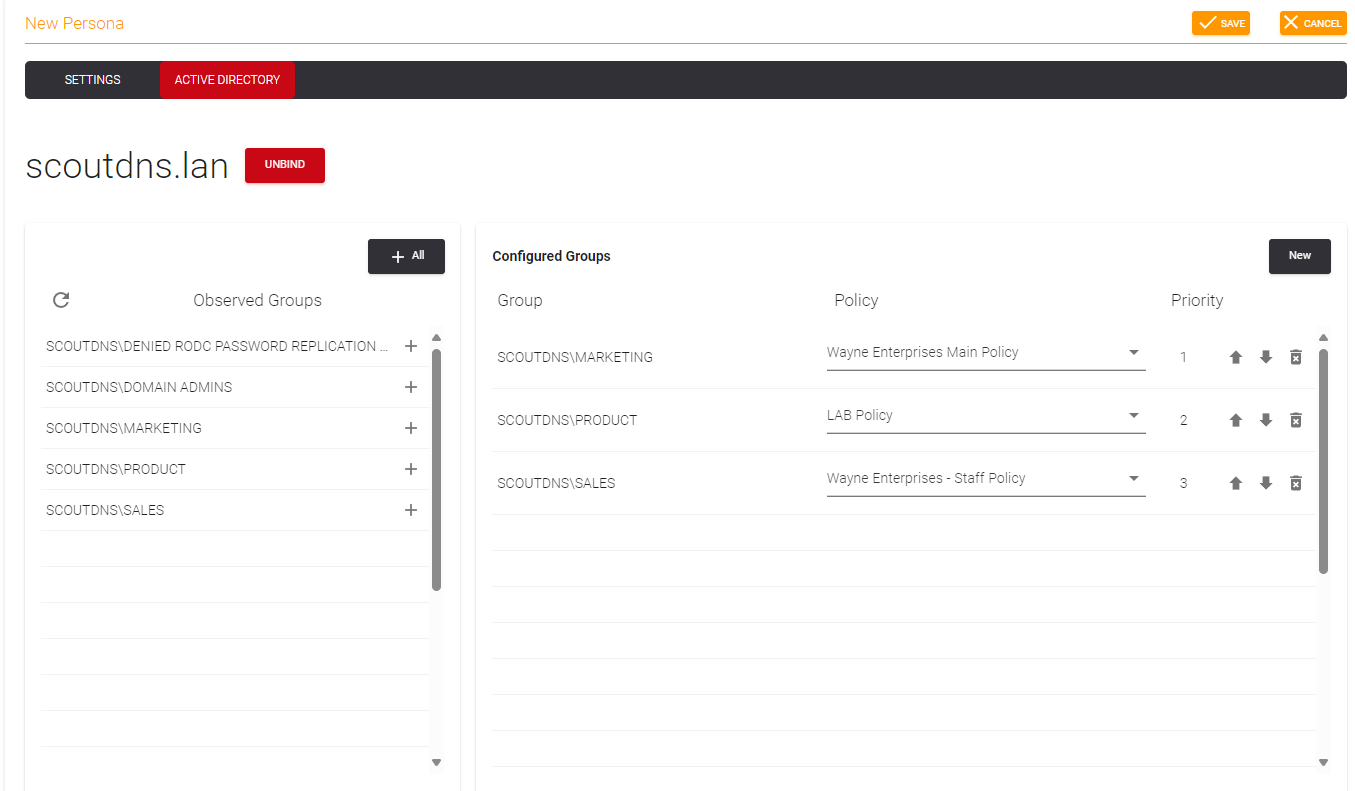
Any AD security group can be selected for policy assignment.
Save the Persona. ScoutDNS applies the new mapping immediately for matching users on the next DNS query.
Step 3 (MSP only): Link the Persona to an organization
If your account uses the Organizations tab (multi-tenant), link the Persona to the relevant organization so user reporting and the Users tab align correctly. This is the same pattern as linking Sites (for network deployments) and Profiles (for roaming clients).
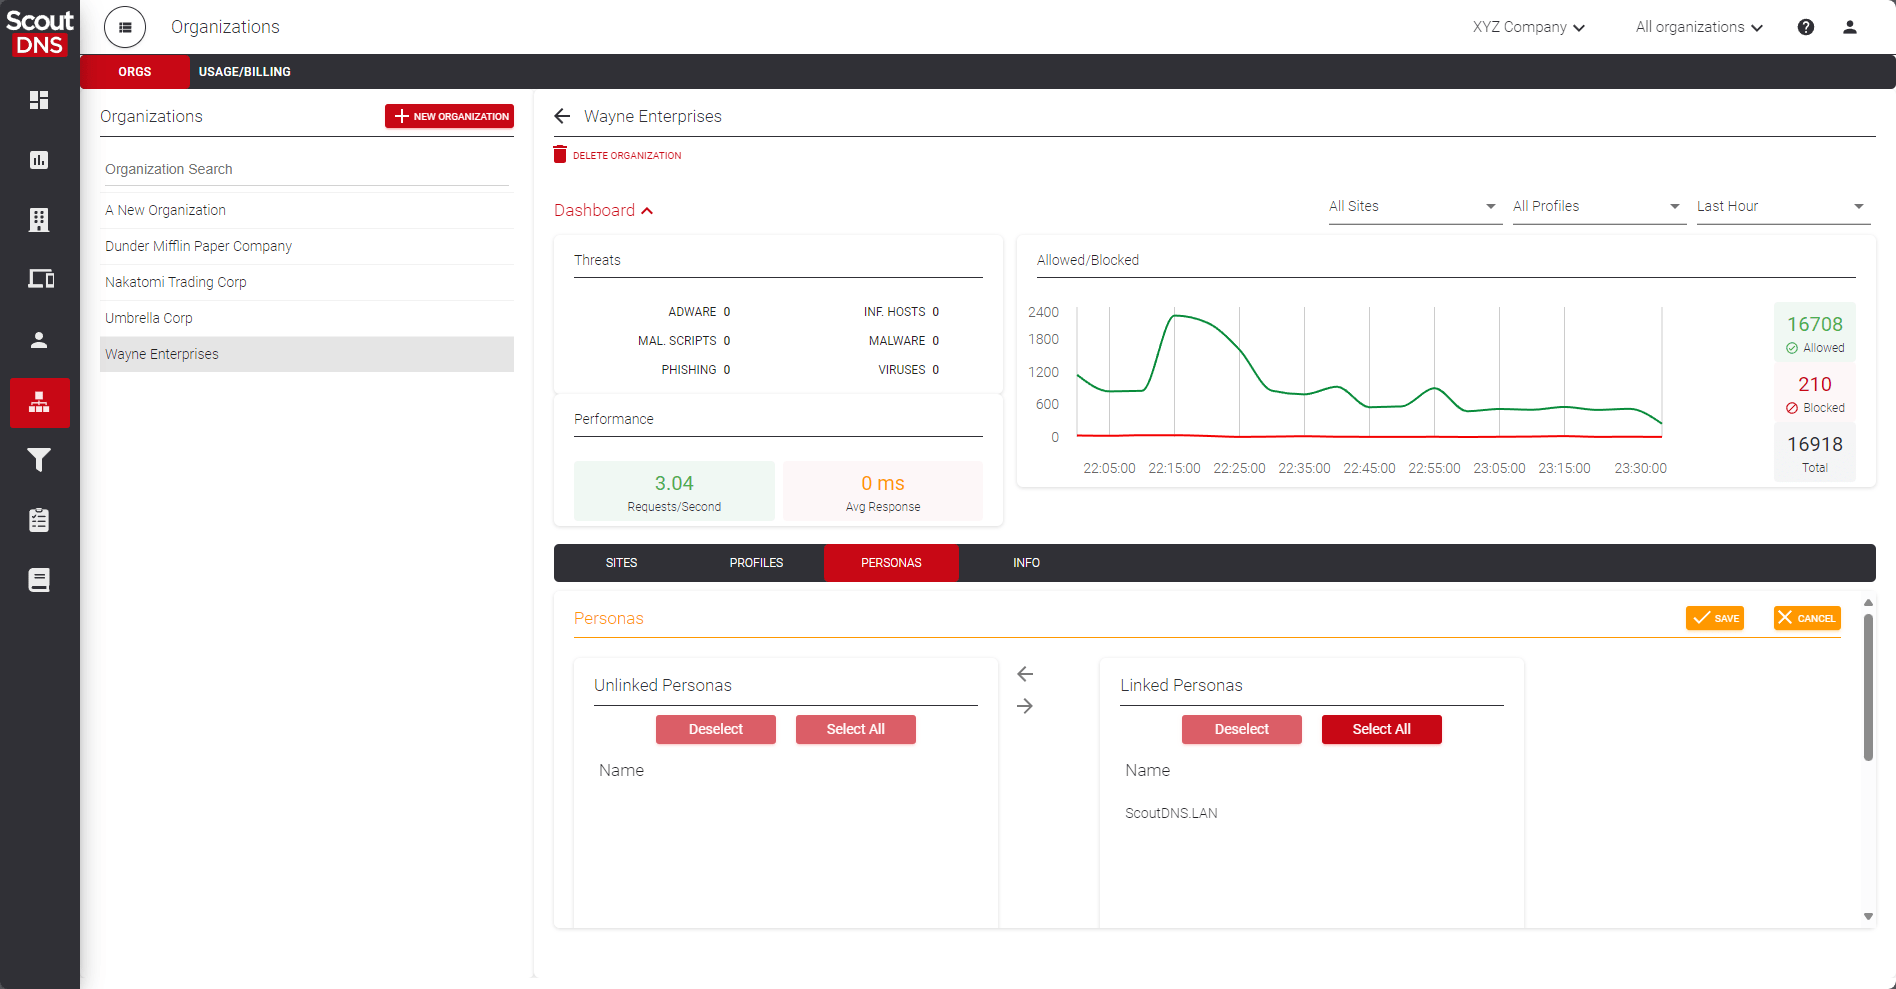
[!TIP] Create the Persona from inside an Organization view to auto-link it to that organization. Saves a manual step later.
Related
- Roaming clients (device agents), agents are how AD group info reaches ScoutDNS
- Configure Entra ID based policies, the Entra-ID counterpart
- Working with policies, defining the policies that AD groups get mapped to
- Organizations, multi-tenant configuration