Browse Deployment & Agents
- Application categories (Zero Trust app management)
- Active Directory group policies
- Content categories
- Custom block pages
- Don't mix DNS providers
- Prevent DNS bypass
- Safe Search explained
- Safe Search supported search engines
- Security categories
- Working with policies
- Working with allow and block lists
- YouTube Restricted Mode explained
Install the ScoutDNS root certificate
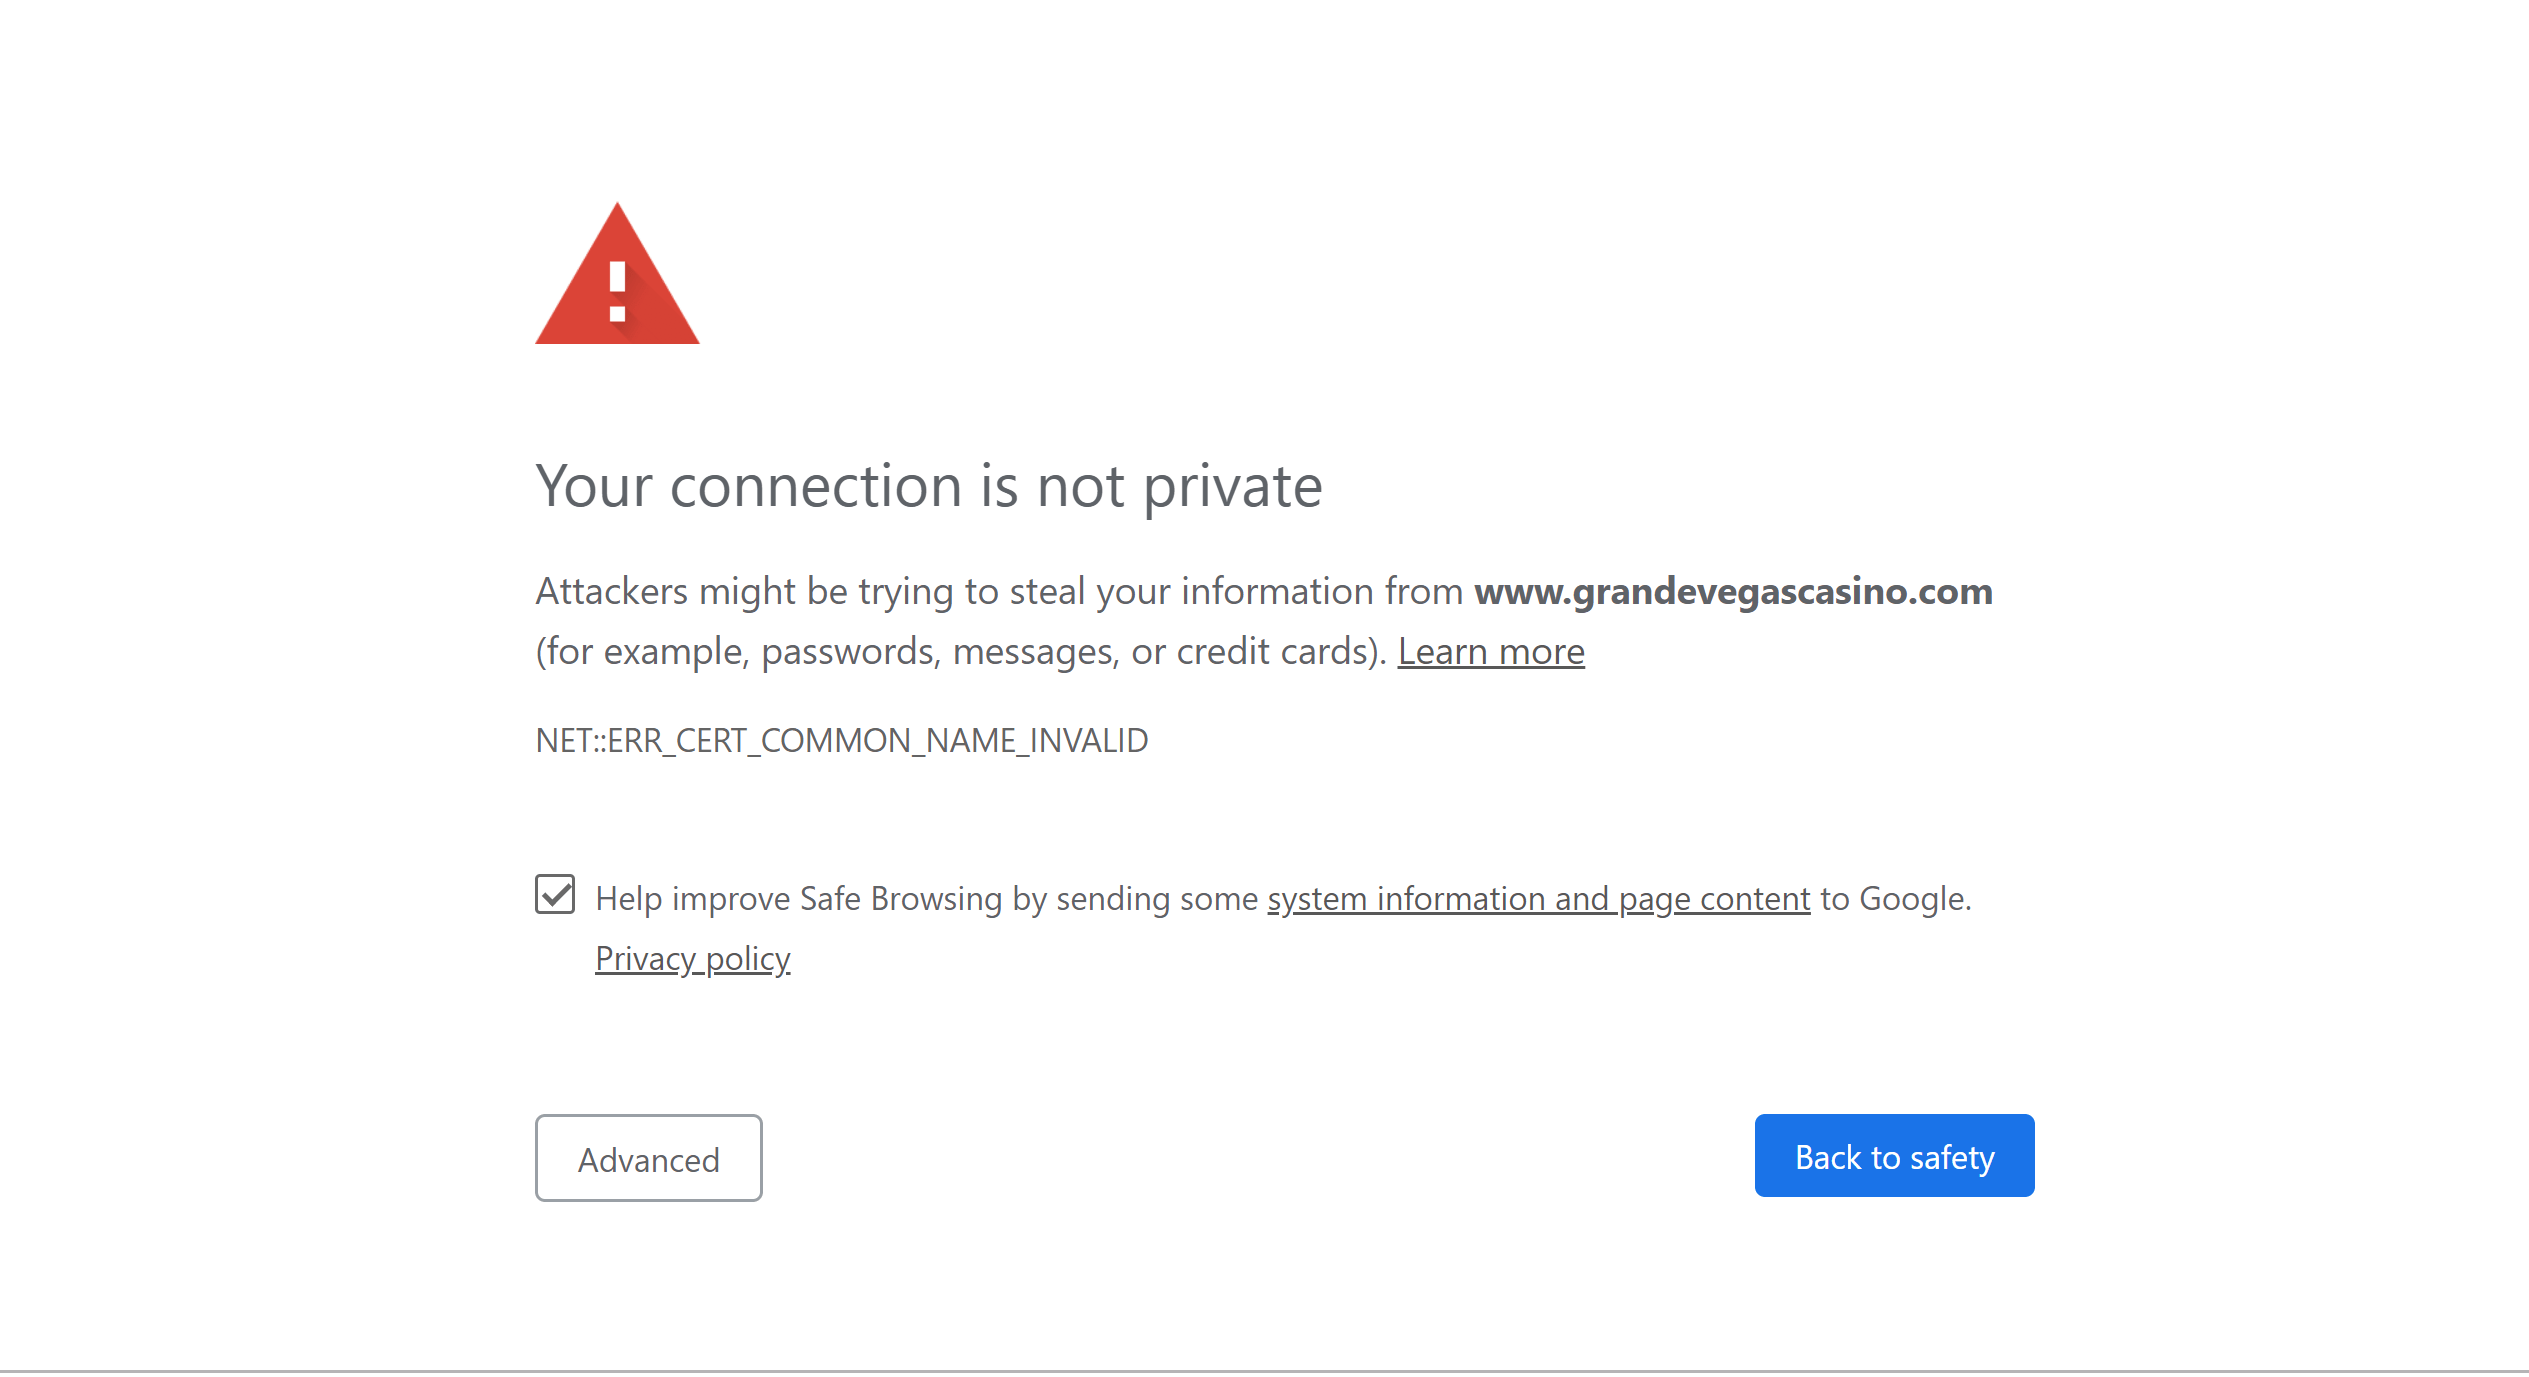
Install the ScoutDNS root cert on client devices so block pages render cleanly on HTTPS sites instead of triggering a browser security warning.
When ScoutDNS blocks a domain, it returns a block page instead of the requested site. If the user was browsing an HTTPS URL, the browser checks the certificate on the served page, and since the block page isn’t signed by the real domain’s CA, the browser shows a security warning instead of the block page.
To make block pages render cleanly on HTTPS sites, install the ScoutDNS root certificate in each client’s trust store.
[!NOTE] The Windows Roaming Client installer automatically installs the root certificate. Manual install is only needed for: site-based deployments (no agent on the device), macOS clients (the macOS agent doesn’t yet auto-install the cert), and any device that doesn’t go through the agent.
Download the certificate
Download the ScoutDNS root certificate
Use the same file for every install method below.
Manual install on Windows
-
Double-click the downloaded
.crtfile. Click Install Certificate.
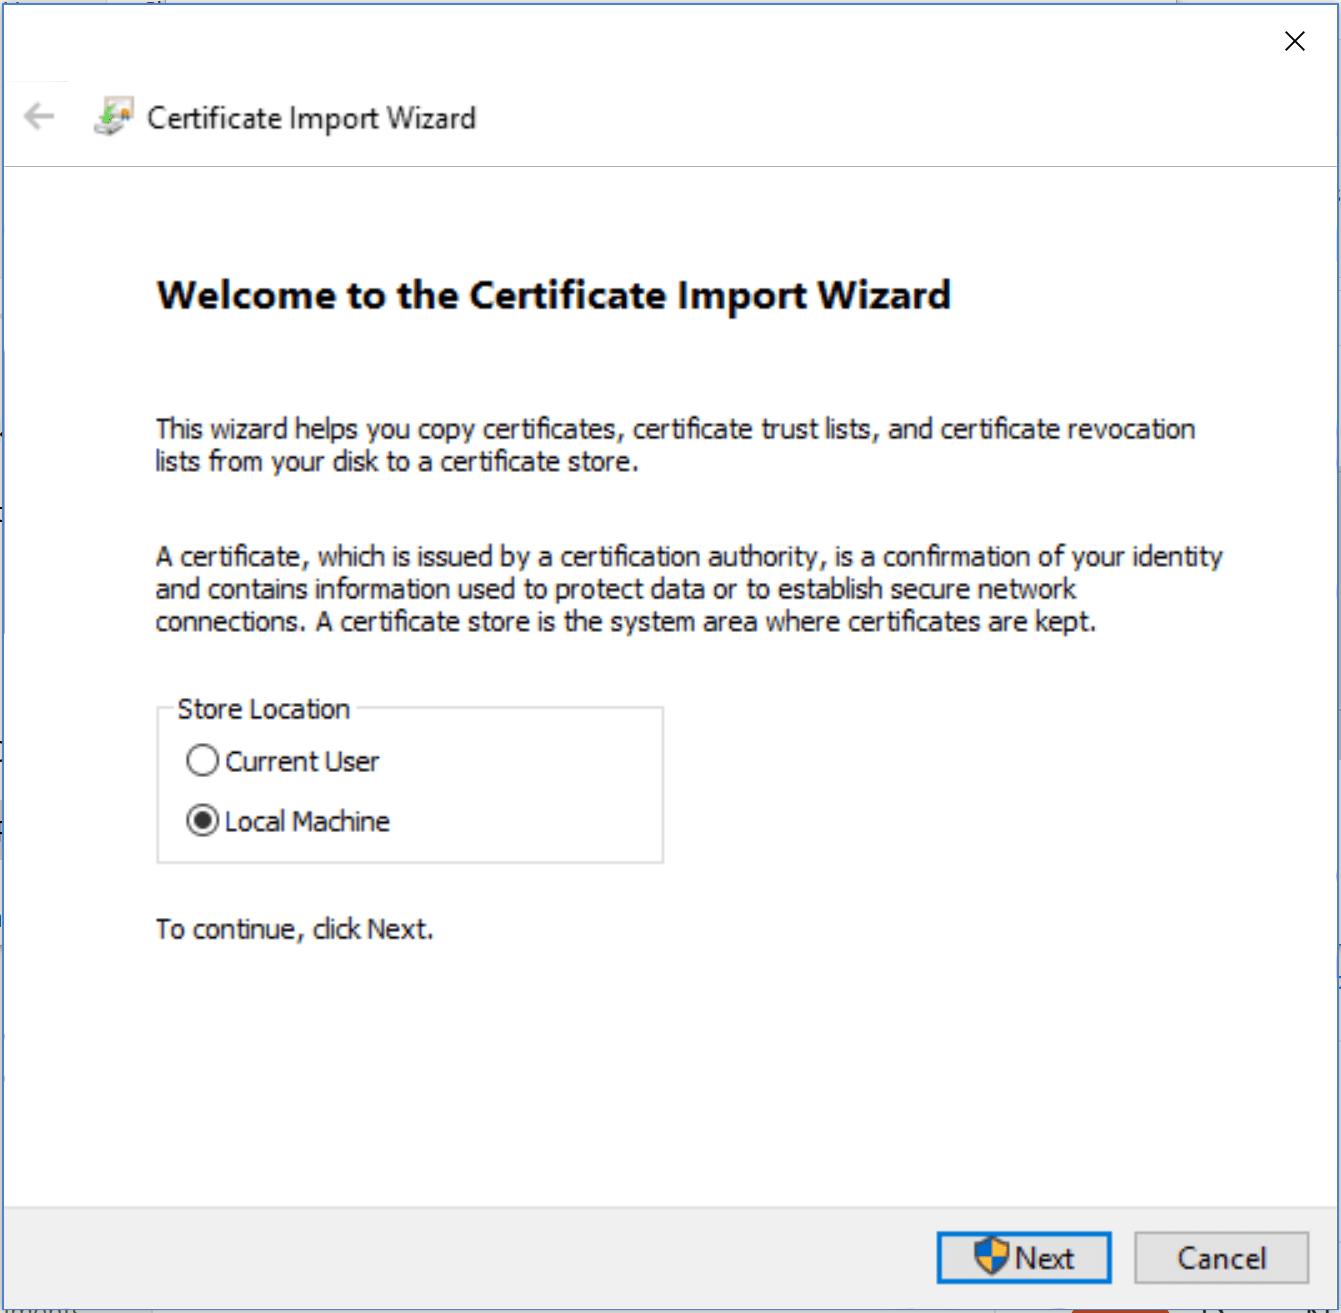
-
Choose Local Machine and click Next.
-
Choose Place all certificates in the following store and select Trusted Root Certification Authorities.
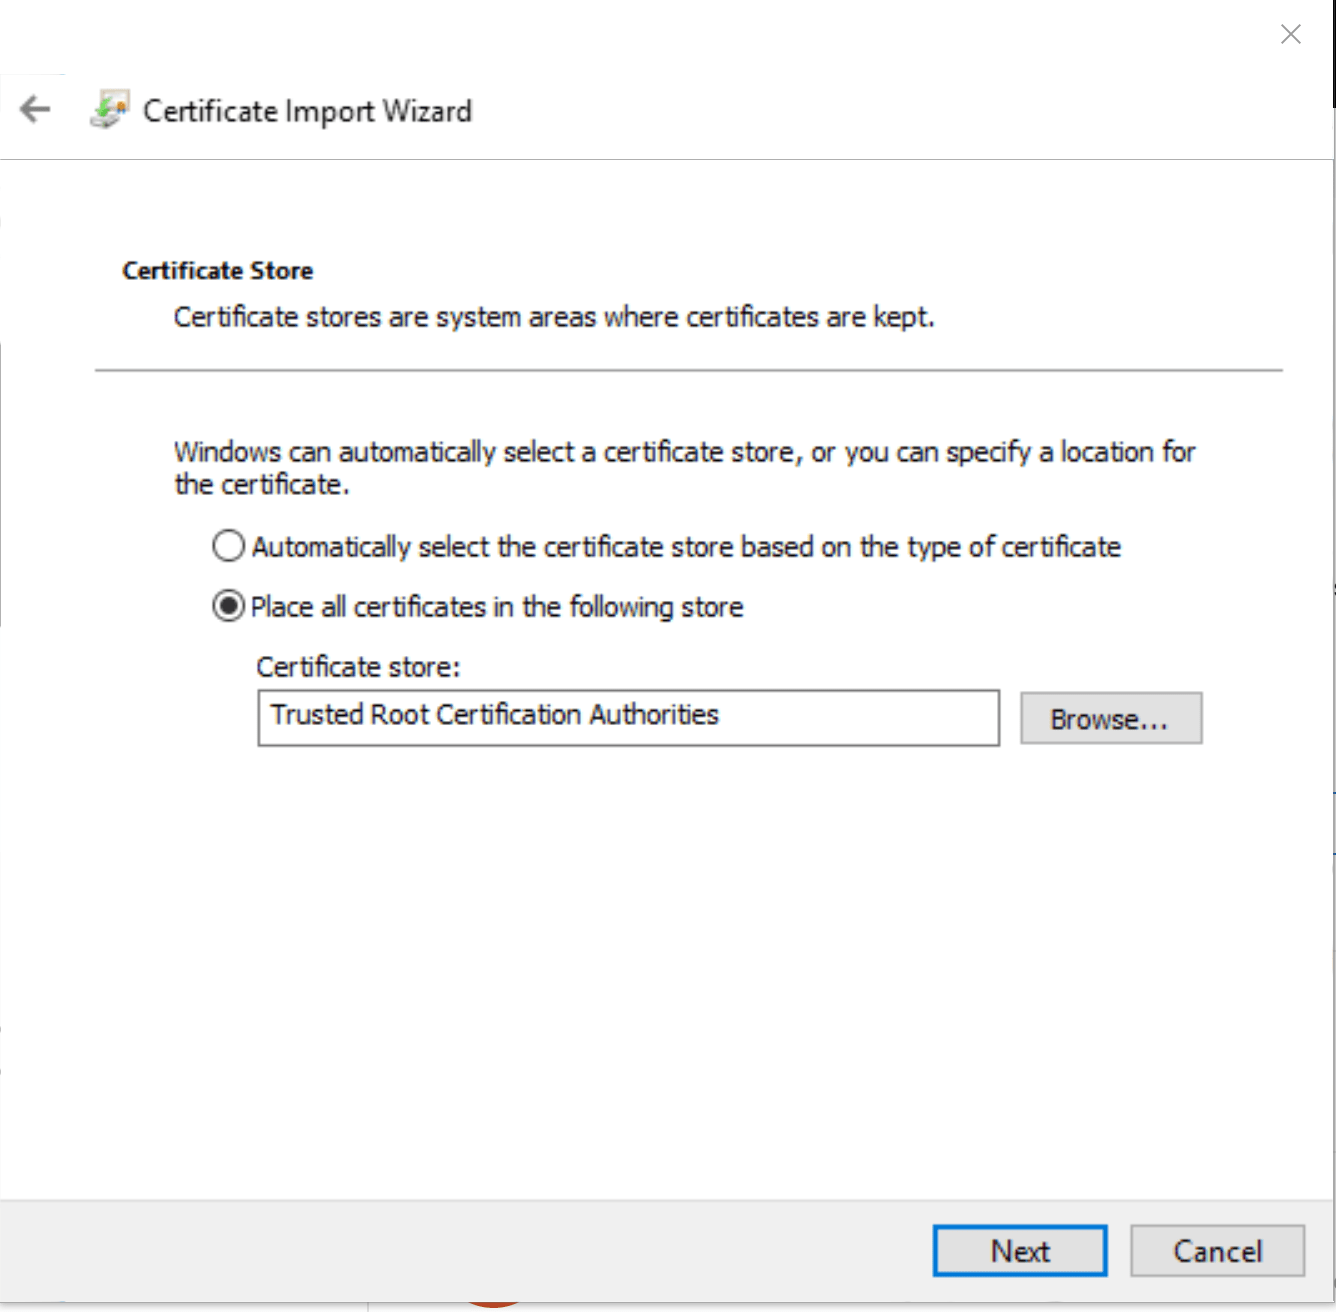
-
Click Finish. Block pages will now render correctly on HTTPS in the browser.
Bulk install on Windows via Group Policy
For domain-joined Windows fleets, push the certificate via GPO so every device picks it up automatically.
- Download the certificate to your domain controller (or a share GPMC can reach).
- Open Administrative Tools → Group Policy Management.
- Right-click the domain and create a new GPO (e.g.
ScoutDNS Certificate). - Open the GPO in the Group Policy Management Editor.
- Navigate to Computer Configuration → Windows Settings → Security Settings → Public Key Policies.
- Right-click Trusted Root Certification Authorities → Import.
- Walk through the import wizard, pointing it at the downloaded certificate file.
The cert is now in the AD Trusted Root Certification Authorities container. Every computer that joins or syncs the domain receives it automatically.
[!TIP] For MDM-managed fleets (Intune, Jamf, Kandji, etc.), upload the certificate as a trusted root profile and assign to the relevant device groups. Same outcome as GPO, different tooling.
Manual install on macOS
- Download the certificate.
- Double-click the
.crtfile to open it in Keychain Access. - In the Add Certificate dialog, choose Always Trust for System.
- Right-click the ScoutDNS certificate in Keychain Access and pick Get Info → Trust → Always Trust to confirm.
The macOS roaming agent does not yet install the cert automatically, so this step is required on Macs running the agent if you want clean HTTPS block pages.
Verification
After install, browse to any blocked HTTPS site. You should see the ScoutDNS block page instead of a browser security warning.
If the warning persists:
- Close and reopen the browser (some browsers cache cert decisions).
- For Firefox specifically, check Settings → Privacy & Security → View Certificates → Authorities. Firefox uses its own trust store by default, separate from the OS. Either import the certificate there or enable Use the system certificate store.
Related
- Custom block pages
- Roaming clients (device agents), auto-installs the cert on Windows